The first step in making this scarf was actually to go hunt for some yarn. I really wanted something colorful and fun and so I went to Patricia's where I found a gorgeous "glaze carrot" colored kettle dyed merino wool by Malabrigo.
The Yarn:

I actually have a purse that was my grandma's in the 60's that is this same color, and so I was further persuaded to purchase this yarn by the thought of how fun it would be to have a scarf to match the purse.
Once the yarn was chosen though it was time to look for a scarf pattern I liked. As I already mentioned I wanted something light, but I also wanted a pattern to match the frolicy feel of the color I had chosen. After an attempt at one pattern that I realized I really didn't like after getting about 1/3 of the way in, I found the awesome fidget pattern. This was such an interesting looking design to me and the fact that the example image was in orange better helped to show me how great it would look with this yarn. On top of that I really liked the idea of something that allowed me to add more color with buttons and was short enough to only wrap around my neck.
As the pattern says you can kind of fool around with the measurements and such, so I did exactly that. I wanted the scarf to be a little wider and shorter and thus I cast on 23 stitches instead of 17 and at the end, for the button hole row, I added three knit stitches to both sides of the row. What I ended up with was a curly and almost cute scarfette.
Initial Product:

After this, as you can see from my last post, I went ahead and looked for fabric to make buttons out of and landed on the awesome flower pattern.
The Scarfette meets its Companion:

With the buttons then made I needed to block the scarf before I could sew them on. This was the first time I ever attempted to block anything, and I therefore probably didn't do the best job ever, but I tried. After doing some research into how to block an item I decided to employ the method of soak it and leave it.
The first step of the soak it and leave it method is to pin down the scarf. Everything I read said that it was best to pin the scarf to a board for this, but I didn't have one and didn't have the money to spend to get one, so I just used a towel...but just to clarify that probably isn't the best object to use. I went to Purl Soho to get the pins and set to work.
Pinned down:

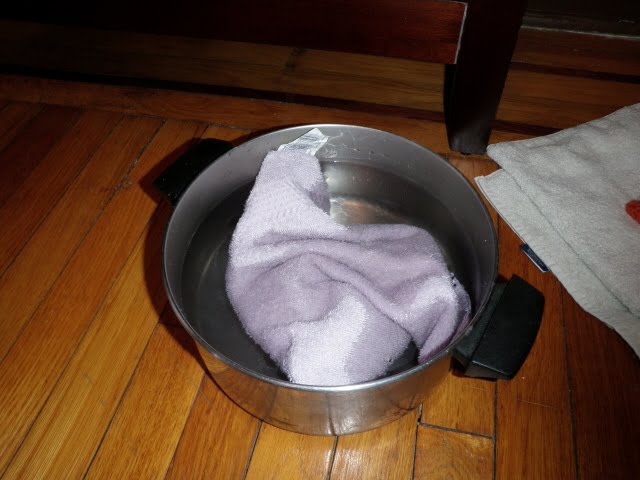
Next I had to coat the scarf in water and since I didn't have a spray bottle I improvised with a simple bowl of water and a washcloth.
Supplies:

Submerging the washcloth:
Applying the Water:

Once the scarfette was amply wet I patted it down and applied a few more pins and walked away for three days. After that time the yarn was completely dry and I unpinned the scarf and sewed the buttons on in the appropriate corresponding spots on the opposite side of the button holes. I used leftover yarn to sew the buttons so that it wasn't noticeable on the wrong side.
Finished Scarfette!:

As you can see my blocking wasn't perfect, but I still really love it. Since it wraps around my neck it really didn't need to be tip-top because it curls a little anyway, and so I left well enough alone.
All Buttoned Up:

I was so excited that the weather turned colder again so I was able to wear this and I went out strutting it around and feeling all the more delightful for it!!
This is Bliss:


love the way it turned out. you're so talented. i have no idea how a daughter of mine turned out being able to knit or crochet. i've tried both in earnest and can't do it to save my soul.
ReplyDelete