ever in my life had I been excited about an ironing board, never that is until we moved into our latest apartment. On touring the space I was excited by the pre-war details that it offered, one of which was a pull out ironing board in the kitchen! How very "retro"!
The tenants before us had wreaked havoc on the apartment though, and even though the cleaning crews did a pretty great job of getting the place fixed up before we moved in, they left the ironing board untouched. This little gem was in pretty bad shape. The fabric it had been covered in was disgusting and the foam was basically disintegrating all over the cabinet it was stored in. It was nothing a little elbow grease couldn't fix...but it was something I put off fixing from a lack of wanting to apply that elbow grease.
The Before Picture:
The Before Picture (the seedy underbelly):
I finally got to the job though, and I tell you what, I am thrilled with the results!
My beau and I are trying to give our kitchen a retro modern look, something that is both practical and fun to be in (for us and any possible guests). We don't have a ton of counter space though, so I had been pondering a way to make more room for a bar area when we do have company and it hit me like a ton of bricks...the IRONING BOARD! I could spruce up that old ironing board with a fun and funky fabric that would make it functional as an ironing board and awesome as a bar. Once this thought occurred to me I set about trying to find the perfect fabric.
I wanted a fabric that had a pattern on it that wouldn't show too much browning from the ironing, but would also offer us a focal point for the room when it is out. The pattern had to be something super duper awesome, the type of awesome that can only be taken in small measures...not covering an entire room.Therefore I headed on over to the cyberspace store of
Fabric Worm and scrolled through their many offerings until I found the
ONE. This fabric was absolutely perfect! It had the retro feel I wanted and the BLAMO! personality I craved. I bought it almost immediately and waited impatiently for it to arrive.
While waiting for my beautiful new fabric I tried to figure out what the best material to pad the ironing board with would be. I did a little research and stumbled upon a manufacturers' page where they indicated that felt allowed for a more even ironing experience, whereas foam allowed for better support. I decided to go with the felt for a few reasons:
1. It is cheaper
2. It is easy to replace when it gets dirty
3. It doesn't disintegrate like foam
4. Being that it is a sort of fabric it is easier to wield and stick down
The Felt Ready for Action:
Close Up of Rockets in Action:
With my felt in hand and my fabric now sitting on the kitchen table the last order of pre-planning business was to decide how I wanted to secure the fabric and felt down. The previous tenants at our apartment had used a staple gun and nails and it was obvious how poorly that had worked out, both for the wood of the ironing board and the fabric clinging to the rusted staples. I didn't want to use anything that would make it difficult to take the fabric off the board to clean, but I also needed something that would secure both the felt and fabric down tight. I finally landed on Scotch Mounting Tape. I had used this tape to secure my bulletin boards and therefore knew it was reliable. Using the double sided tape would guarantee that the fabric would stay put, while still allowing for easy enough removal when the time came to either replace the felt, clean the fabric, or move out.
With all the details worked out my guy and I went about cleaning the ironing board area. He pulled out the majority of the staples and then I set about picking up all the tattered pieces of cloth and crumbling foam. After this step I went ahead and scrubbed the ironing board and cabinet down, probably about four times, and then swept up the remaining particles. I dried up the wood with a fan and then went about placing the felt and fabric on the freshly cleaned board.
All I really needed to do for the felt was to fold it over so that it was thick enough (I got a pretty large piece) and then place the tape strategically around the bottom of the ironing board and press the felt over it. Once that was done I just went about taping down the fabric. As I have mentioned before, on this blog, I am horrible at measurements and am just as equally bad (if not worse) at cutting fabric evenly. One day I plan on getting a nice cutting grid and a rotary cutter to help fix this problem, but as for now I am satisfied to just make sure the fabric fits around what it needs to (even if the fabric on the bottom is a little jagged). Therefore I didn't pre-cut the fabric, rather I set about eyeballing the cutting of the fabric as I went.
Laying the Fabric Down:
End done and Moving Forward:
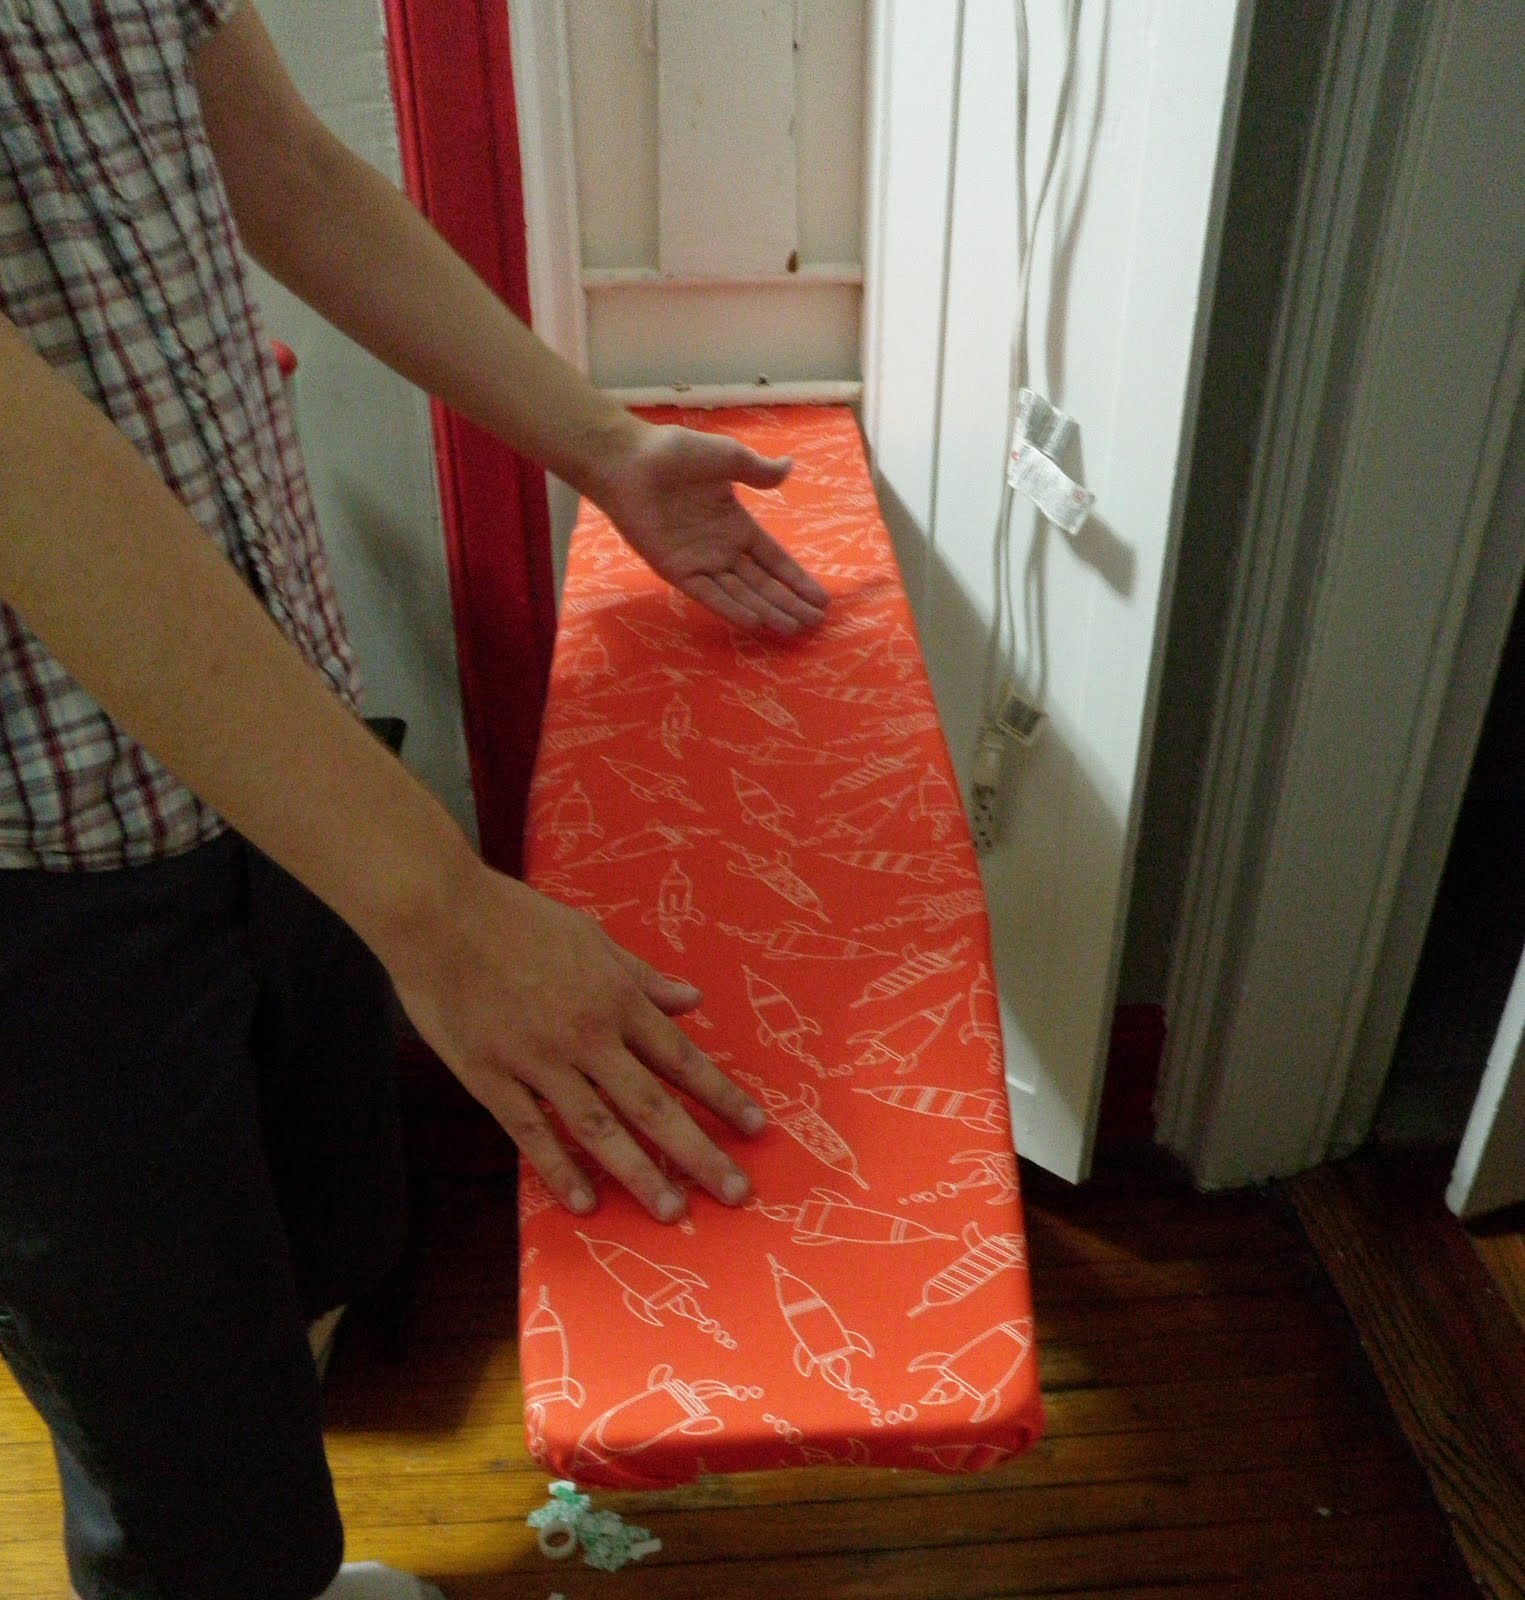
Once all that was done, and the fabric was secure I was left with a new and improved, amazingly beautiful ironing board / bar!!
My Beau Showing Off the End Product (so soft, yet flat):
Ironing Board Mod
e:
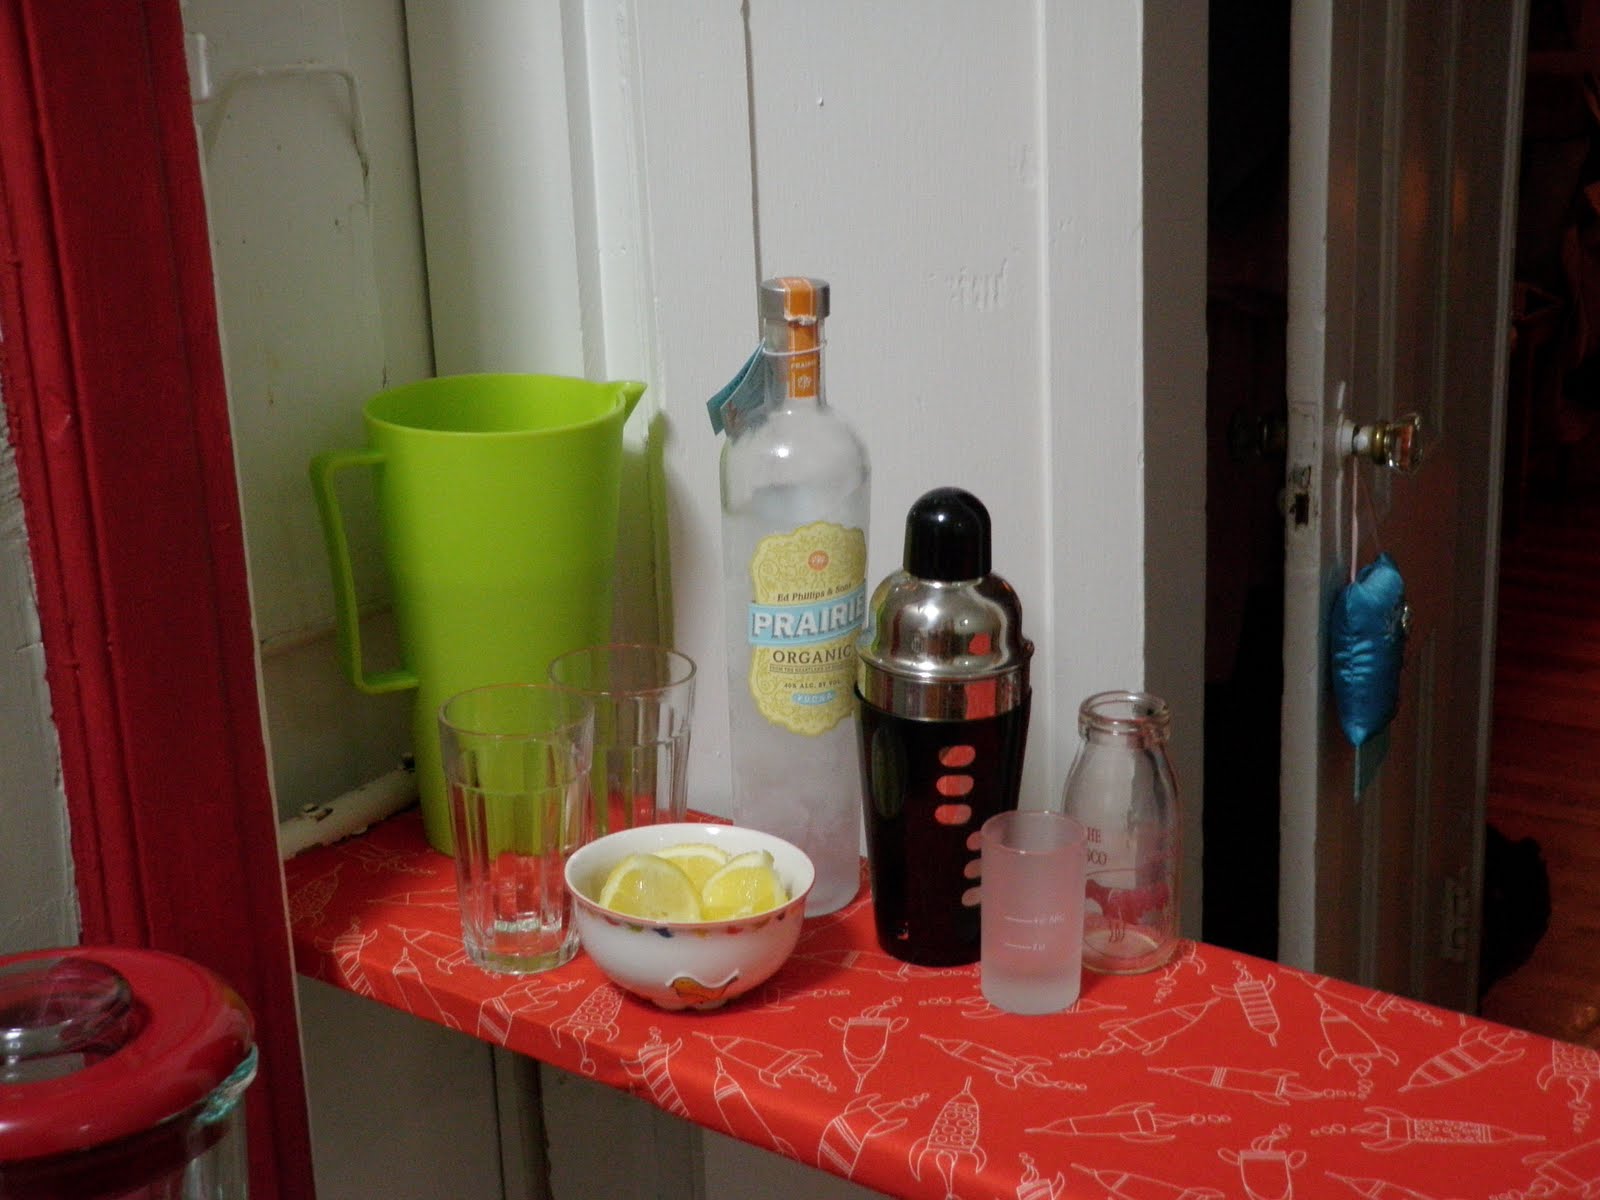
The More Jazzy Bar Mode:
A Little Close Up of Bar Mode:
*cap supplied by Jessica Hische at DailyDropCap
 heap, crafty, useful things are always so much fun to create because 1. you don't break the bank and 2. you end up with something that serves a purpose. Taking this sentiment I made some bins out of shoe boxes and fabric to store my craft supplies in. I will admit that for one of the boxes I ended up getting an expensive fabric, but by getting so little it wasn't too much of a splurge. The other two boxes I made with some great and wallet friendly fabric that was left over from another project (that I had purchased at FabricWorm).


 ot only is my computer still out of commission, but I have also been super busy lately, thus leading to a slight lag on the blog posting front. I really do have a few posts lined up, but since the only hour when I could make an in-depth post (my lunch break) is taken up for the next few days, I thought I would share a little info about some yarns I am itching to get my hands on.
 s has been stated on this blog in the past I am working to make my kitchen retro-awesome. For the longest time I felt like a key element was missing though. My eye would always wander to our little kitchen table with disappointment. We had gotten the table for free (it was left by a leaving tenant at one of our old apartments) and we were extremely happy to get it. The issue though is that the table, while functional, is just a basic Ikea piece with no flare...and definitely no retro-awesomeness.


 ince I can't really post any of my projects due to the fact that my laptop is currently dead and most of my pics are on it, I figured I would try and fill the void with some random information...I mean after all, this is the Random ReposiStory. Wah, wah, wah.
 ell, unfortunately for me, and perhaps for the few that enjoy this blog, my computer has broken. According to the tech genius who took a look at it, the problem is a graphics one that can't be fixed easily -the company apparently recalled my laptop because of it. Thus the only possible way to get it fixed is for the company to admit it falls under the warranty of recalled laptops or something like that. Anyway, the point of me telling you this is that I will be unable to post anything for a while, and I actually do have a couple of things to post...so keep checking back, but not too frequently. Thanks!
 y initial idea for this post was to write an in-depth review of This Book is Overdue : How Librarians and Cybrarians Can Save Us All by Marilyn Johnson. Some people have commented that they had high hopes for this book, I have to admit that I wasn't one of them. All I really wanted from this work was a simple layman's look at librarians and how their jobs are important. Ultimately I thought this would just be a nice skimming of the surface of hugely complex issues, with a nod of the head towards the librarians of the world. Never once did I think This Book is Overdue would be a detailed report on the field of librarianship.